(And have a rubbish phone)
It really is hard to overstate how important imagery is when you’re running a PledgeMe campaign. Though there’s no rule as such, successful campaigns generally tend to come with a bunch of pretty, well-lit pictures, and the ones that don’t quite make it often lack a little in the looks department.
My official role at PledgeMe is Chief Design Awesomiser – whether I quite live up to that lofty title is for others to decide. But in my time behind a camera – video or otherwise – there are a number of techniques I’ve picked up that will improve any picture or video in ways far easier than they have any right to be.
Though I very much like the two cameras I have, neither is especially new, and I’m often looking to ways in which to improve the photos from them without spending any money.*
This edu-torial would be nothing without pictures themselves, so for this, I am going to (reluctantly) limit myself to my relatively awful cellphone camera (Motorola Moto G II), and not do any processing to the images that I can’t do in the phone itself.
Here are some tips.

1. Zoom with your feet.
If you’re in the habit of doing that little thing with your fingers where you push them apart on your screen like you’re trying to get a wrinkle out of it, please stop. Just move closer. If you can’t get any closer, try again, and ask yourself if you’re just really comfy and don’t want to leave your chair.
When you do that little pinchy thing, all you’re really doing is telling your camera to stretch the pixels, which isn’t generally a good idea. Move closer, and make every pixel count.

2. Take fewer, better pictures
This isn’t necessarily a rule I always follow myself, but I do try. Except in circumstances when a moment is fleeting, take your time to compose your shot; one pretty good photo is infinitely more useful than 20 kind-of-rubbish, blurry, poorly-lit ones.

Consider your photo’s content
Make sure everything you do want in your picture is actually in the picture, and anything you don’t necessarily want photographed, isn’t.
It sounds simple, is simple, and avoids situations where you realise that a picture you just shared with 700 Facebook friends actually contains a subtle reflection of your belly-button hair.

Consider your framing
A fairly good rule of thumb is to take shots at 90°. By this, I mean, get perpendicular to your subject, and try to keep some of the lines in your shot (walls, floors, horizons) at a multiple of 90°. Wes Anderson’s style is pretty much defined by this, and he’s done pretty well for himself.
This will generally make your shots feel more deliberate, and make people think you know more about what you’re doing than you do. It’ll also generally stop your shots implying that your subjects are giants or teeny-tiny if you keep the camera perpendicular to the floor, rather than gazing up into their nostrils.
3. Find better lighting
By this, I don’t mean spending any money on fancy lights – rather, there are multiple things you can do to make the lighting of your photos nicer – most of which should only cost you seconds of your life.
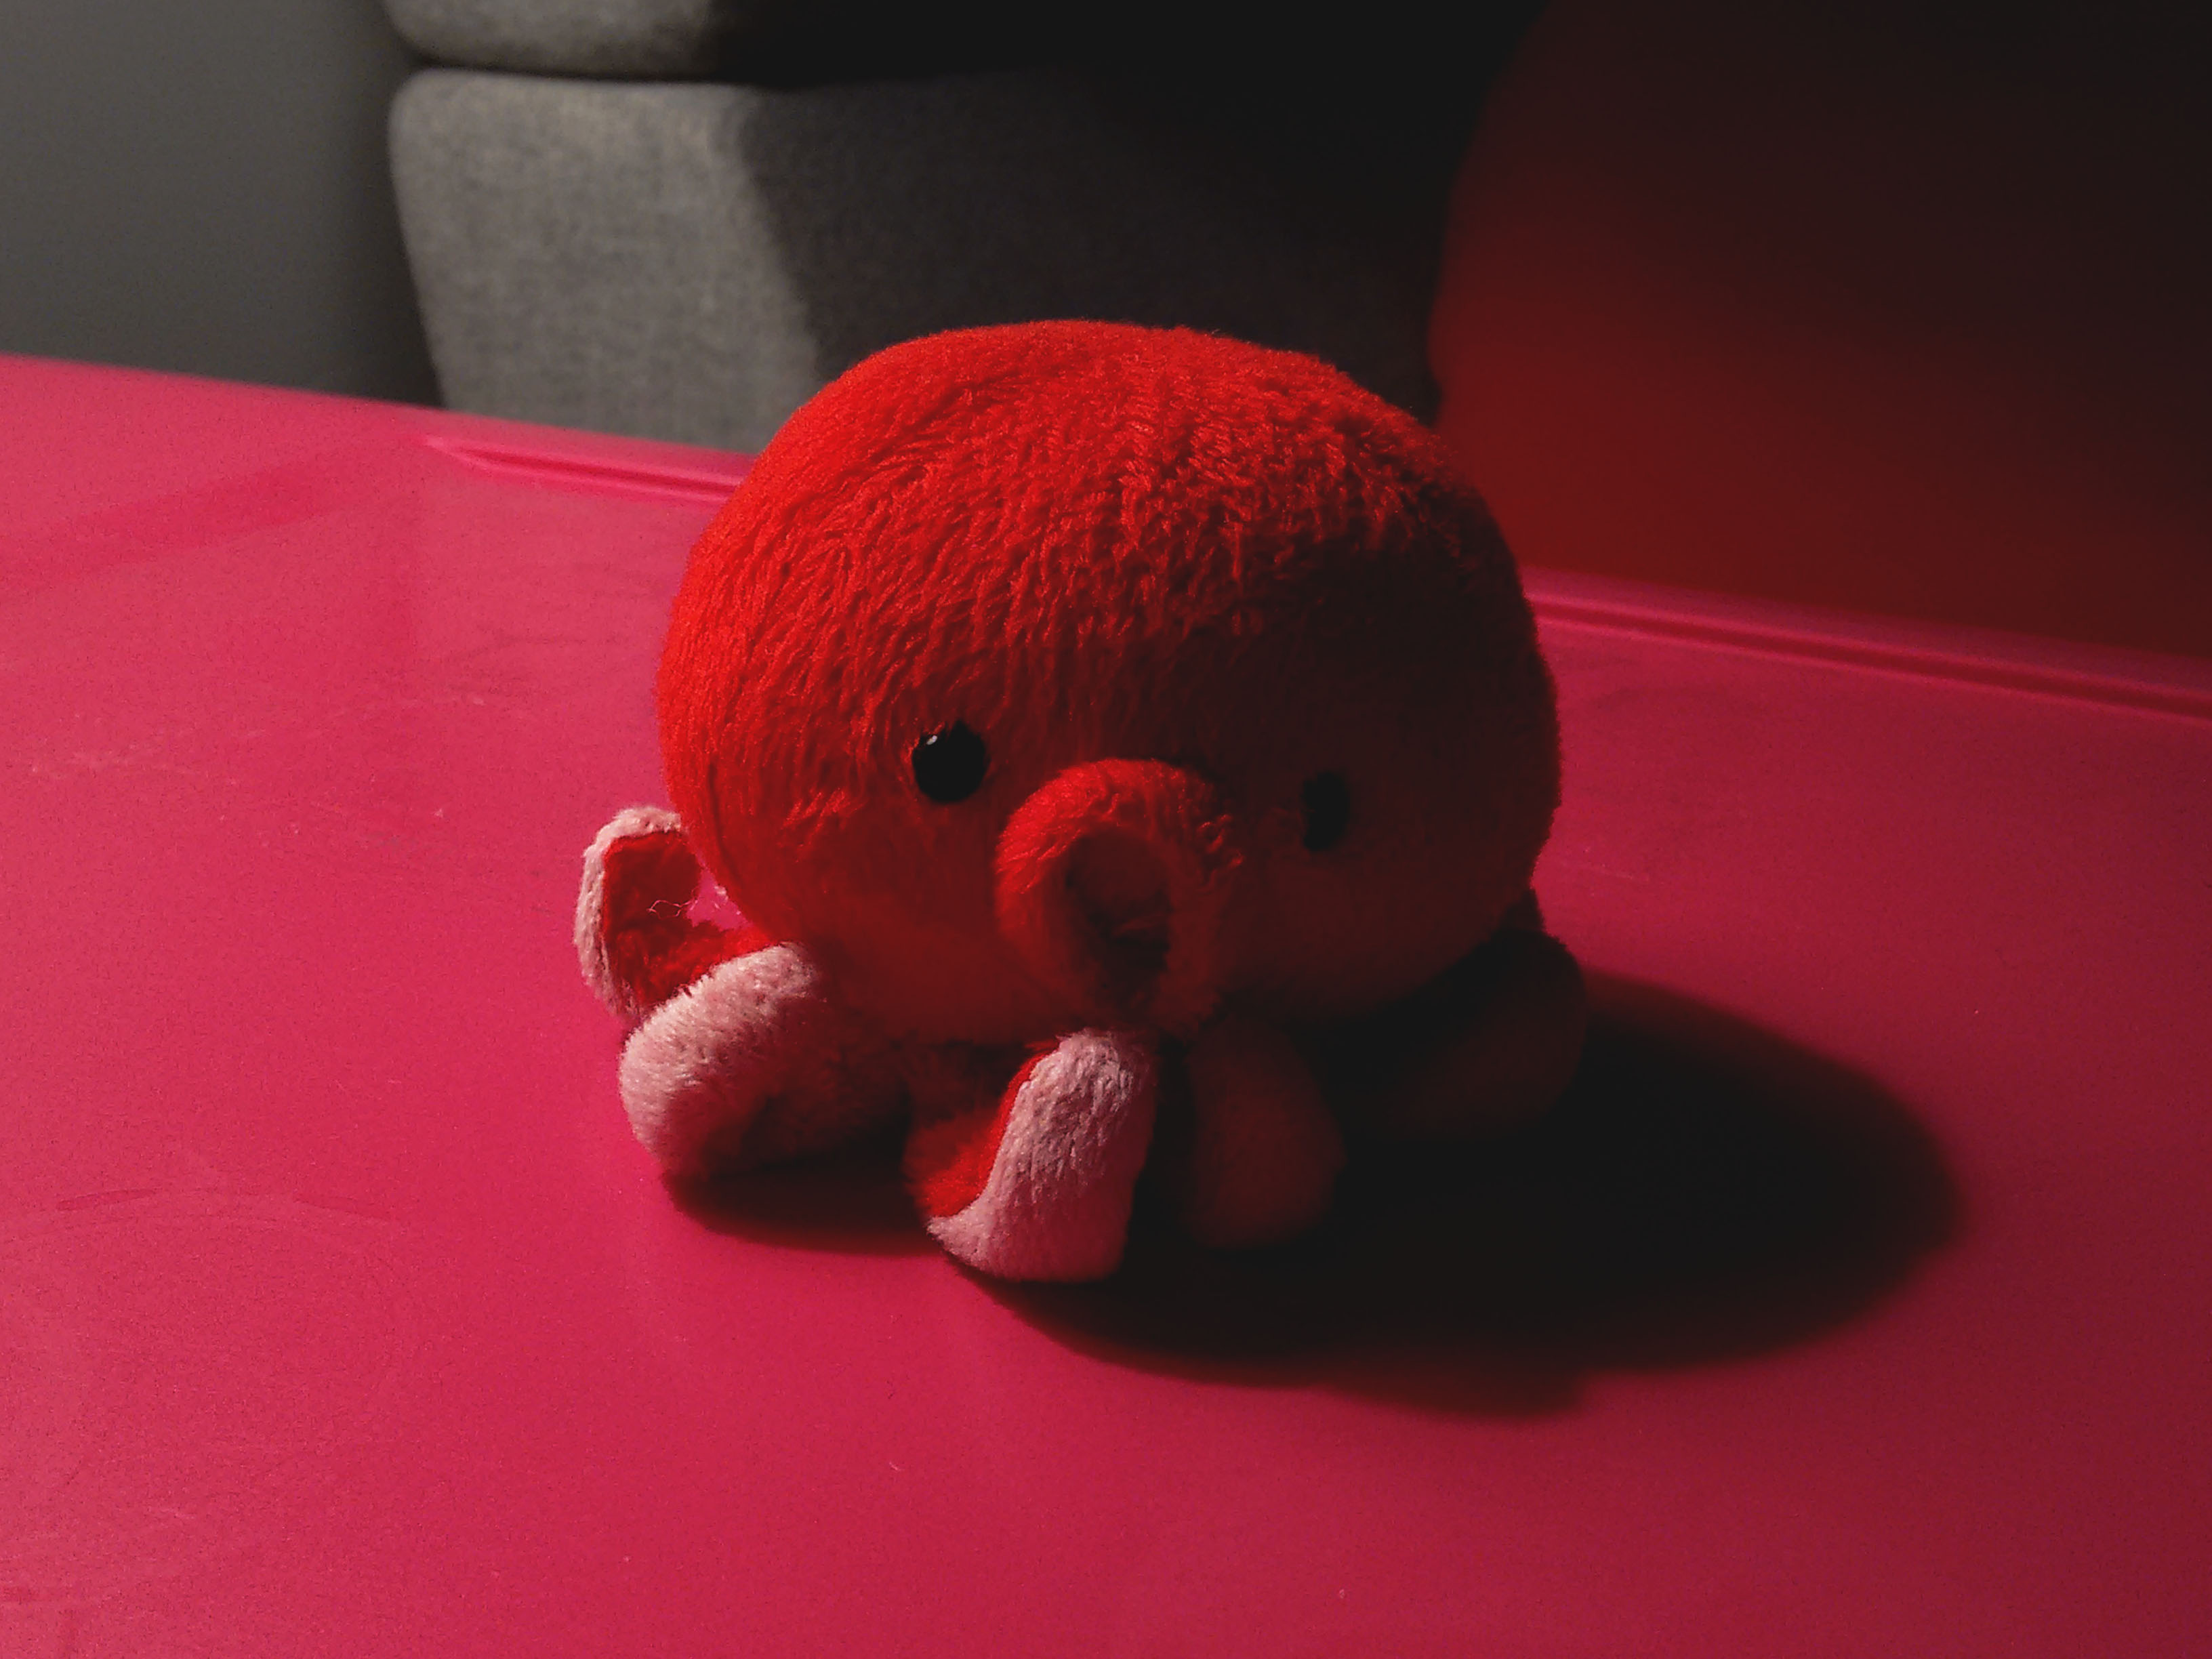
Find natural light
For this, you don’t even have to venture outdoors. Take whatever it is – person, animal, or object – and drag it near a window. Take a picture. Your picture is now 19 times better than it was when it was lit by a solitary fluorescent light in a small dirty bathroom. That’s just science. Turning off any artificial lights will remove that yellow sheen from your pictures.
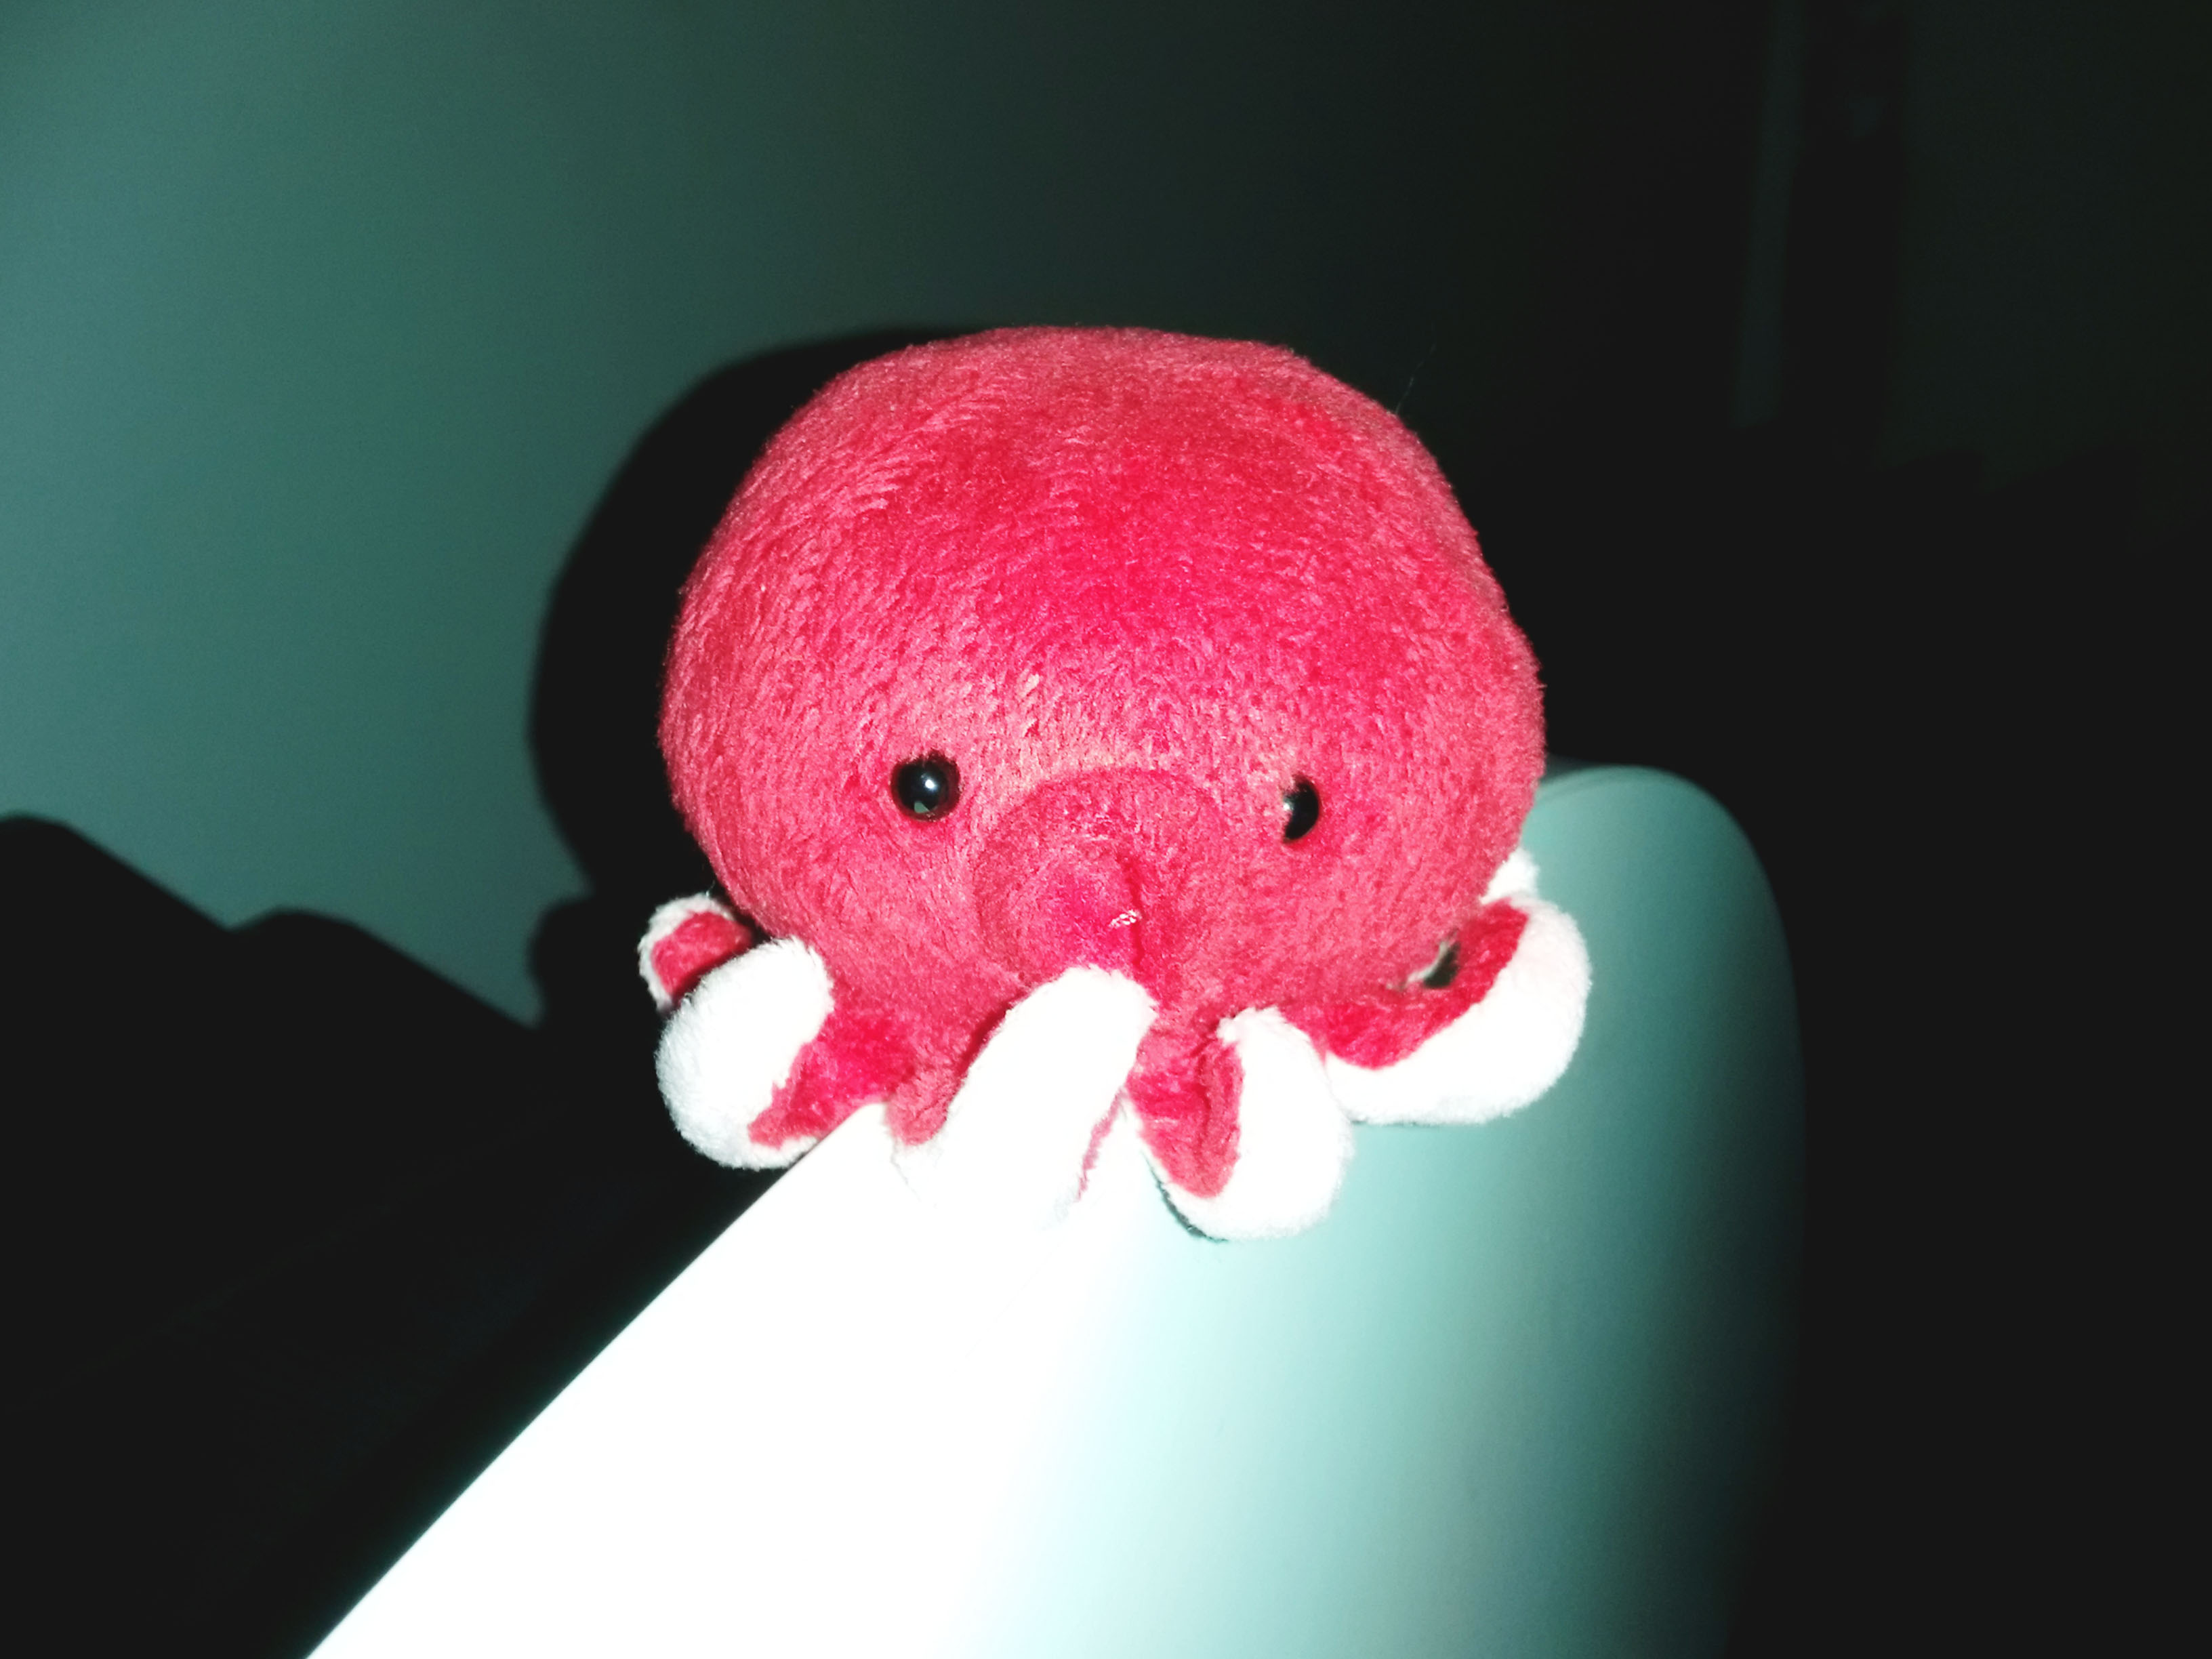
Don’t take pictures at night (unless you really have to)
Some things only happen at night and there’s not a lot you can do about that. If you’re trying to get a shot of the milky way, your chances aren’t great during the daytime. If you’re trying to get a picture of the toaster-bike you’re really trying to sell as a cool neat invention that every New Zealander needs, wait until dawn, and take your picture then.
The Golden Hour
This is the term often used by photographers to describe that hour just before dusk (or after dawn if you happen to be out of bed) when photos automatically look really really sweet without any effort on your part. This doesn’t work if you take your pictures in the toilet, unless your toilet is in a wheat field, or next to a really choice stream.
Direct sunlight isn’t as great as it sounds
If you’re taking pictures outside in the middle of a sunny day, you might actually be better off being in the shade. It’s somewhat counterintuitive, but there is such a thing as too much light. The teeny-tiny sensor in your cellphone can’t cope with the huge amount of contrast that direct sunlight provides, and significant amounts of your image will end up being purely black or white. And on top of everything else, it makes people all squinty and sweaty-looking.
4. Turn off your flash
Better than that, remove the flash altogether from your phone. Pry it out, crush it under your heel, and recycle it responsibly†. According to statistics that I totally just made up but know to be true, no picture has ever been improved by a flash from a cellphone. The flash will not only refract offensively through every droplet of sweat on your subject’s upper lip, it’ll make everyone appear yellow and jaundiced, and probably unfortunate-looking enough that they won’t want you using the picture for anything anyway.
Even more offensively, using the flash to take pictures of food will in 100% of cases make the food look inedible and sickly. Wait for the sun to come up, and get near a window.
5. Any picture is better than no picture
Sometimes, you’re going to be taking a picture of something that is far away, moving quickly, inside, at night time. In those case, feel free to absolutely ignore everything I’ve just said. You almost certainly won’t end up with a masterpiece, but you will end up with something – which is kind of nice.
*An Olympus E-PL3 (2011) and a Canon 60D (2010)
†Don’t actually do this please.


I just tried prying the flash out of my phone and now my phone doesn’t work. Rory, you owe me a phone.
Dear Ken, you may have removed the AI chip, which is good in that your phone can no longer feel pain, but bad in which your phone may forget to get up in the morning.
I recommend you reinsert the chip, and place the phone in front of Friends reruns for 4–6 days.
Great advice, a fun style, cute subject!
Thank you for a great post!